
Can you repair a cracked fish tank? Yes, you can repair a cracked fish tank, especially for smaller cracks or leaks, by using specialized aquarium repair products. A cracked fish tank can be a worrying sight for any aquarium enthusiast. The immediate thought is often about the safety of your aquatic inhabitants and the potential for a major leak. Fortunately, for many common cracks and leaks, a DIY repair is not only possible but also a cost-effective solution compared to replacing the entire aquarium. This guide will walk you through the process of safely repairing a cracked fish tank, ensuring a secure and leak-free environment for your beloved fish.
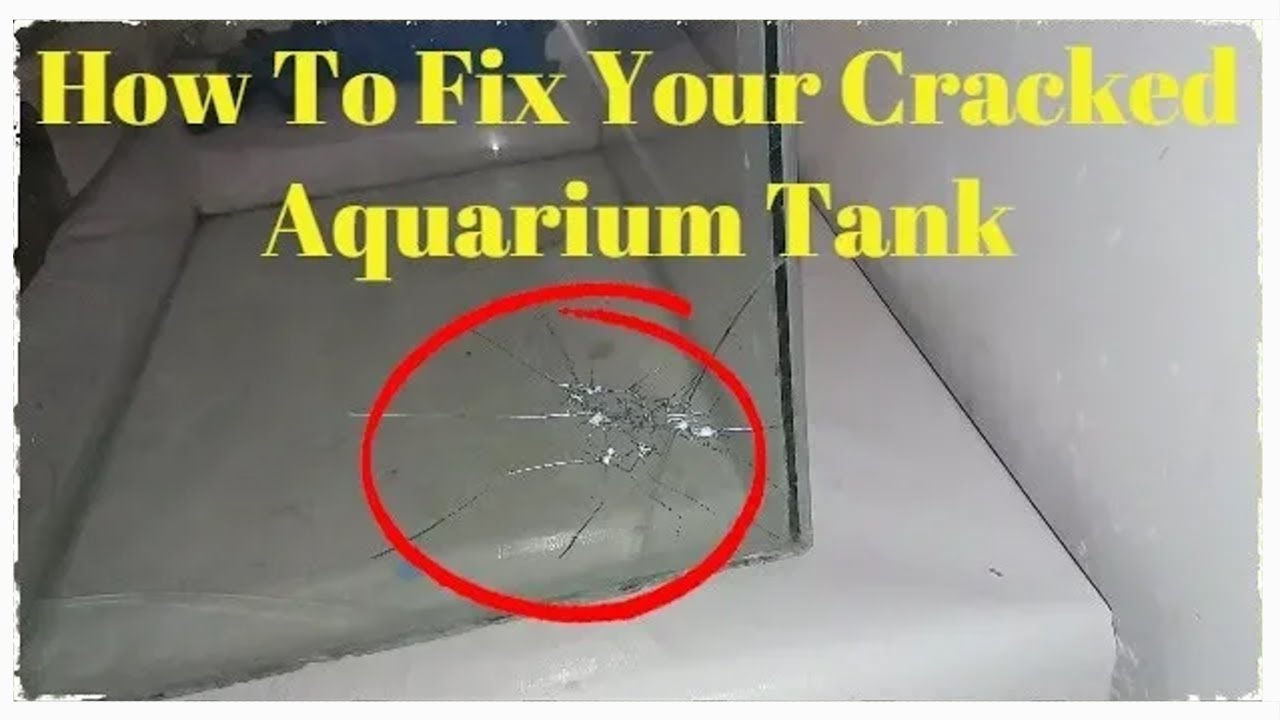
Image Source: i.ytimg.com
Assessing the Damage: What to Look For
Before you can begin any repair, it’s crucial to properly assess the damage to your glass aquarium. Not all cracks are created equal, and some might be beyond the scope of a simple DIY fix.
Types of Cracks and Their Implications
- Hairline Cracks: These are very fine cracks that are often barely visible. While they might not cause immediate leaks, they can worsen over time and compromise the structural integrity of the tank.
- Chipped Corners: Small chips, especially on the edges of the glass, can also be repaired. However, larger chips or those affecting the seal can be more problematic.
- Full Fractures: These are cracks that have penetrated through the glass, often resulting in immediate leaks. These are the most serious and require prompt attention.
- Stress Lines: These can appear as spiderweb-like patterns originating from stress points, often due to improper installation or impacts.
Factors to Consider for Repair
- Size of the Crack: Small, hairline cracks are generally easier to repair than larger ones.
- Location of the Crack: Cracks near the corners or along the seams can be more challenging to seal effectively than those on a flat panel.
- Depth of the Crack: A crack that goes all the way through the glass will require a different approach than a surface-level imperfection.
- Tank Size: Larger tanks experience more water pressure, so repairs on bigger tanks need to be exceptionally robust.
Gathering Your Repair Supplies
Successfully patching a fish tank crack requires the right tools and materials. Using products specifically designed for aquarium use is paramount to ensure the safety of your fish and the longevity of the repair.
Essential Items for Your Fish Tank Repair Kit
A good fish tank repair kit typically contains a high-quality aquarium sealant or waterproof aquarium adhesive, along with applicators. Here’s a breakdown of what you’ll need:
- Aquarium-Safe Silicone Sealant: This is the gold standard for aquarium sealant. It must be 100% pure silicone aquarium sealant and specifically labeled as safe for aquariums. Avoid any silicone that contains mildew inhibitors or other additives, as these can be toxic to fish.
- Glass Cleaner or Isopropyl Alcohol: For thoroughly cleaning the damaged area.
- Razor Blade Scraper or Craft Knife: To gently remove any old sealant or debris.
- Paper Towels or Clean Cloths: For drying and cleaning.
- Masking Tape: To create clean lines and hold the sealant in place while it cures.
- Applicator Tool: Often included in repair kits, or you can use a gloved finger or a small spatula.
- Gloves: To protect your hands from the sealant.
- Safety Glasses: To protect your eyes from any debris.
- Aquarium Epoxy (Optional but Recommended for Deeper Cracks): For more significant damage, an epoxy for aquariums can provide extra strength and adhesion. Ensure it’s also aquarium-safe.
Preparing the Fish Tank for Repair
Proper preparation is key to a successful glass aquarium repair. Skipping this step can lead to a weak bond and a failed repair.
Steps for a Flawless Preparation
- Empty the Tank: This is the most critical step. Completely drain the fish tank. Remove all fish, plants, decorations, and the substrate. It’s best to temporarily house your fish in a separate, properly conditioned tank or containers with aeration and heating.
- Clean the Damaged Area: Thoroughly clean the area around the crack. Use glass cleaner or isopropyl alcohol to remove any algae, debris, or residue. For a deep clean, gently scrape away any old sealant or dirt with a razor blade scraper or craft knife. Be careful not to widen the crack.
- Dry the Area Completely: The aquarium sealant or waterproof aquarium adhesive will not bond effectively to a wet surface. Ensure the glass is completely dry. You can use a hairdryer on a low setting to speed up the drying process.
- Masking the Crack: Carefully apply masking tape along the edges of the crack, creating a clean, straight line. This will help you apply the sealant neatly and prevent it from spreading where it’s not needed. Leave a small gap (about 1/16 inch) over the crack itself, so the sealant can fill it properly.
The Repair Process: Step-by-Step
Now that your tank is prepped and you have your supplies, it’s time to tackle the DIY fish tank crack repair.
Applying Aquarium Sealant for a Leak-Proof Bond
For most hairline cracks or small chips, a good quality silicone aquarium sealant is sufficient.
- Apply the Sealant: If you’re using a tube of silicone, carefully cut the tip to create a small opening. Apply a steady, even bead of aquarium sealant directly over the crack, ensuring it fills the entire gap. If you’re using a fish tank repair kit that comes with a specific applicator, follow its instructions.
- Smooth the Sealant: Using a gloved finger, a small spatula, or the applicator tool provided in your kit, gently smooth the sealant. The goal is to create a smooth, uniform surface that completely covers and fills the crack. This also helps to press the sealant into the microscopic imperfections of the glass.
- Remove Excess Sealant: Carefully wipe away any excess sealant from the surrounding glass with a damp paper towel or cloth. Try not to disturb the smoothed bead over the crack.
- Apply Tape (Optional but Recommended): For extra neatness and to help hold the sealant in place while it cures, you can apply a strip of masking tape along the smoothed bead, pressing it down gently. This creates a clean edge.
- Cure Time: This is where patience is key. Allow the aquarium sealant to cure completely. The curing time can vary depending on the product and humidity, but it typically takes at least 24-48 hours, and sometimes up to 7 days for full strength. Check the product’s instructions for specific curing times. Do not rush this process, as an improperly cured seal can fail.
Using Epoxy for Stronger Repairs
For deeper cracks or chipped areas where you need a more robust solution, epoxy for aquariums is a better choice.
- Prepare the Epoxy: Follow the manufacturer’s instructions for mixing the two-part epoxy. Ensure you mix it thoroughly until it’s a uniform color. Work quickly, as epoxy has a limited working time.
- Apply the Epoxy: Apply the mixed epoxy directly to the cleaned and dried crack. Use a small spatula or applicator to press it firmly into the crack, ensuring it fills the void completely.
- Smooth and Shape: Smooth the surface of the epoxy to create an even finish. You can use a damp finger or tool to achieve this.
- Cure Time: Epoxy also requires a specific curing time, which is usually faster than silicone but still needs to be respected. Refer to the product’s instructions.
Testing the Repair
Once the sealant or epoxy has fully cured, it’s time to test your aquarium leak repair.
Ensuring a Watertight Seal
- Leak Test: After the curing period, slowly fill the tank with water. Do this away from any electrical outlets or sensitive electronics.
- Inspect for Leaks: Watch the repaired area very closely for any signs of leakage. Check around the edges of the sealant and the repaired crack itself. You can also place paper towels on the outside of the tank below the repair to easily spot any drips.
- Let it Sit: Leave the tank filled with water for at least 24 hours, continuing to monitor for any leaks.
Refilling and Reintroducing Your Aquatic Life
If your leak test is successful, you can proceed to refill your tank and reintroduce your fish.
Safely Returning Fish to Their Home
- Clean the Tank (Again): Once you’re confident the repair is sound, drain the test water. You may want to do a quick rinse of the tank to remove any residual air bubbles or dust.
- Refill with Conditioned Water: Refill the tank with fresh, dechlorinated water that is the correct temperature for your fish.
- Reintroduce Decorations and Substrate: Carefully place your cleaned decorations and substrate back into the tank.
- Acclimate and Reintroduce Fish: Gently reintroduce your fish to their repaired home. Acclimate them slowly to the tank’s water parameters as you normally would.
When to Call a Professional or Replace the Tank
While DIY repairs can be very effective, there are situations where it’s best to seek professional help or consider replacing the tank altogether.
Recognizing the Limits of DIY
- Large or Numerous Cracks: If the tank has multiple significant cracks, or a single crack that is very large (more than a few inches) or deep, a DIY repair may not be sufficient to restore its structural integrity. The water pressure on a large tank can be immense, and a compromised pane could fail catastrophically.
- Cracks on Seams: If the crack is on or near the silicone seams where the glass panels are joined, this is a more critical area. These seams are vital for the tank’s structural stability. Patching fish tank glass at the seams is generally not recommended for long-term safety.
- Bulging or Bowing Glass: If you notice any signs of the glass bowing or bulging outwards, this indicates that the tank’s structure is already compromised, and no amount of glass aquarium repair will make it safe. This is a sign of imminent failure.
- Complete Shattering or Large Missing Pieces: Obviously, if large pieces of glass are missing or the tank has shattered, it needs immediate replacement.
Maintenance and Prevention
Regular maintenance and a few preventative measures can help extend the life of your fish tank and reduce the risk of cracks.
Keeping Your Aquarium in Top Shape
- Regular Inspections: Periodically inspect your tank for any small chips or stress marks, especially after moving or cleaning.
- Handle with Care: When cleaning or moving the tank, always handle it with extreme care. Avoid bumping it against hard surfaces.
- Proper Placement: Ensure the tank is placed on a sturdy, level surface. Uneven surfaces can create stress points on the glass.
- Avoid Extreme Temperature Changes: Rapid temperature fluctuations can cause stress on the glass.
Frequently Asked Questions (FAQ)
Q1: What is the best sealant for fish tanks?
A1: The best sealant for fish tanks is 100% pure silicone aquarium sealant. Always check the label to ensure it’s specifically designed for aquarium use and free from additives like mold inhibitors.
Q2: Can I use regular household silicone for aquarium repairs?
A2: No, absolutely not. Regular household silicone often contains chemicals that are toxic to fish and other aquatic life. Only use silicone explicitly labeled as aquarium-safe.
Q3: How long does aquarium sealant take to cure?
A3: While some products might claim faster curing times, it’s generally recommended to allow aquarium sealant to cure for at least 24-48 hours, and ideally up to 7 days, to ensure it reaches full strength and is completely non-toxic. Always refer to the manufacturer’s instructions.
Q4: Will a repaired crack hold up under water pressure?
A4: A properly executed repair using aquarium-safe silicone aquarium or epoxy for aquariums on a hairline crack or small chip should hold up well. However, for larger or deeper cracks, the structural integrity might be compromised, and it’s safer to consider replacement.
Q5: Can I repair a crack in the corner of my fish tank?
A5: Small chips or hairline cracks in corners can often be repaired with aquarium sealant or epoxy. However, if the crack significantly weakens the corner or affects the original seam, replacement might be a safer option.
Q6: What is the difference between silicone and epoxy for aquarium repairs?
A6: Silicone sealant is flexible and excellent for filling fine cracks and ensuring a watertight seal. Epoxy for aquariums is a two-part adhesive that hardens into a rigid material, offering greater strength and filling power for deeper cracks or chips.
Q7: How do I remove old aquarium sealant?
A7: You can carefully scrape away old silicone aquarium sealant using a razor blade scraper or a craft knife. Work gently to avoid scratching or damaging the glass. Isopropyl alcohol can help soften stubborn residue.
By following these detailed steps, you can confidently tackle a cracked fish tank and ensure a safe, healthy environment for your aquatic pets. Remember, when in doubt, prioritizing the safety of your fish by replacing a severely damaged tank is always the best course of action.