
Can you clean a used fish tank? Yes, you can clean a used fish tank, but it requires careful attention to safety and sanitation to ensure a healthy environment for your new aquatic friends. Improper cleaning can leave behind harmful bacteria, chemicals, or even residual medications that can be toxic to fish. This guide will walk you through the essential steps to safely prepare a used aquarium for its inhabitants.
Bringing a used fish tank into your home can be an exciting and eco-friendly way to start your aquarium hobby. However, it’s crucial to approach the cleaning process with diligence. A second-hand tank might harbor unseen threats from previous occupants or improper maintenance. This comprehensive guide will cover everything you need to know about used aquarium cleaning, from initial scrubbing to disinfecting fish tank components and preparing it for a successful used fish tank setup.
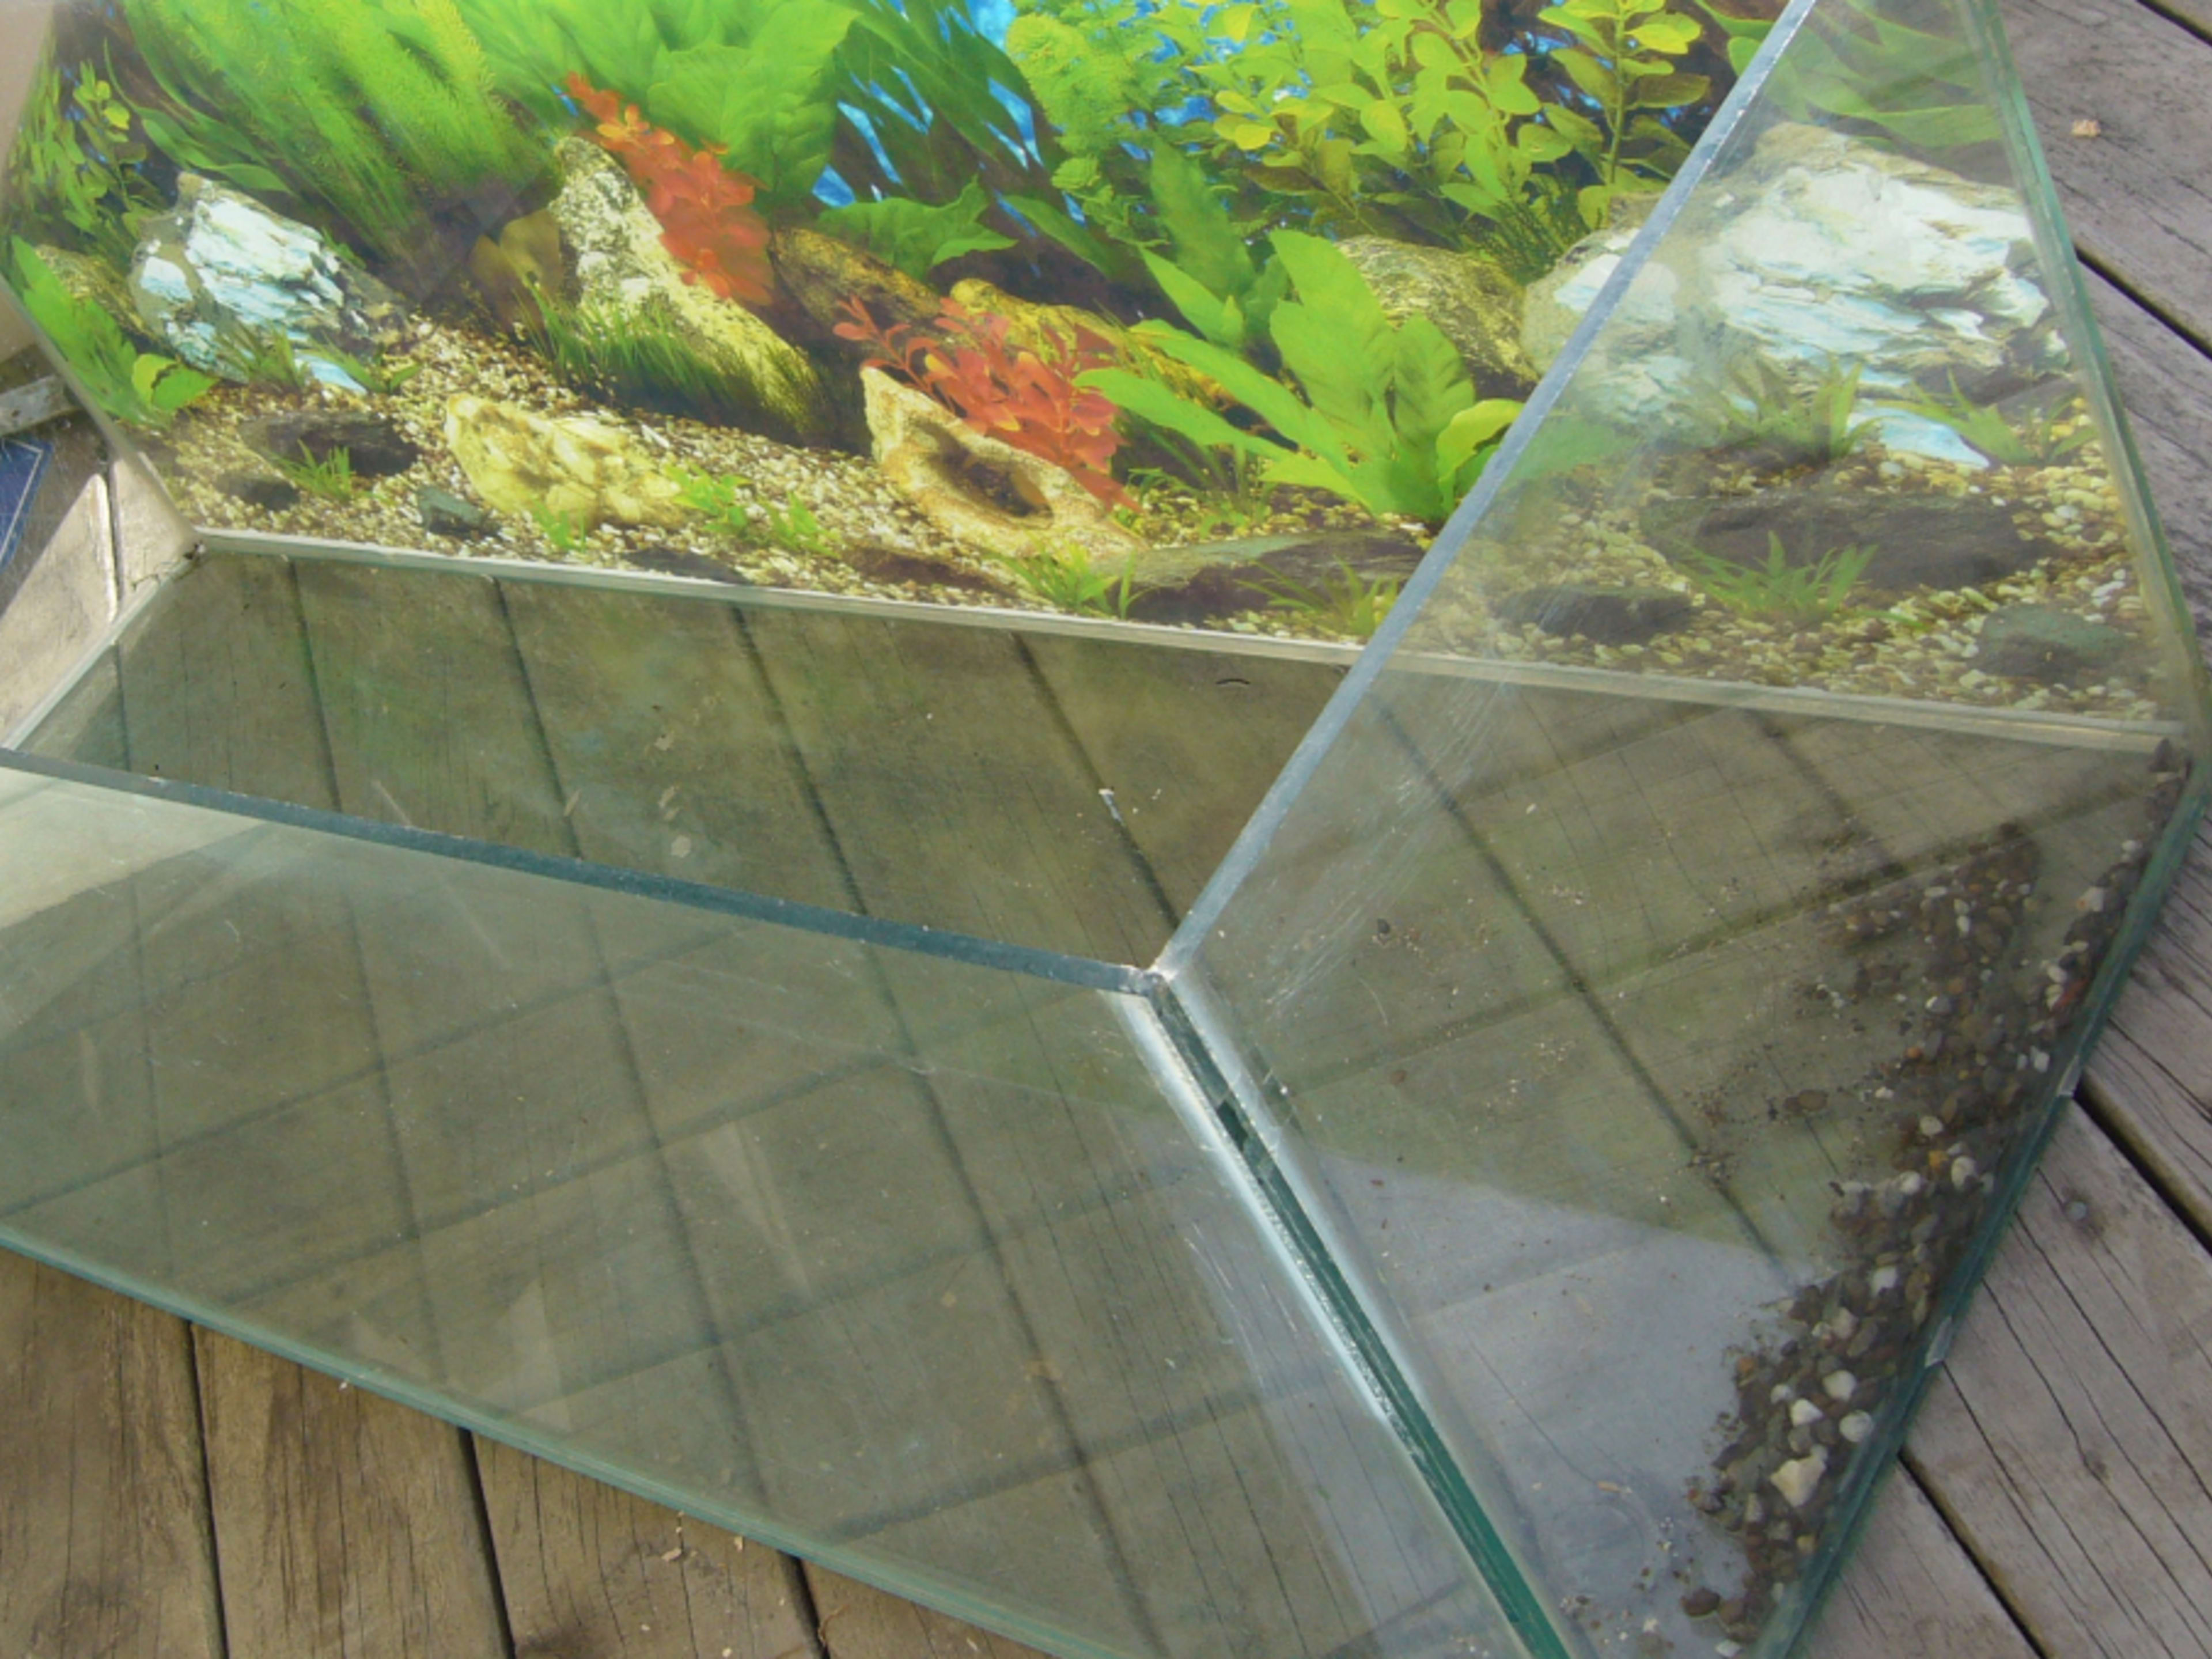
Image Source: pethelpful.com
Step 1: Gather Your Cleaning Supplies
Before you begin, ensure you have all the necessary tools and cleaning agents. This will make the process smoother and more efficient.
- New, Dedicated Sponges and Scrub Brushes: Never use sponges or brushes that have come into contact with household cleaning chemicals, as even trace amounts can be deadly to fish. Designate these solely for aquarium use.
- Bucket(s): You’ll need at least two dedicated buckets – one for general cleaning and one specifically for rinsing. Again, ensure these have never been used with chemicals.
- Aquarium-Safe Algae Scraper: For tougher algae buildup, an aquarium-specific scraper with a blade is ideal. Be cautious with glass tanks; plastic tanks can scratch easily.
- Old Towels or Rags: For drying and wiping down surfaces.
- Aquarium-Safe Cleaner (Optional but Recommended): While plain water and scrubbing are often sufficient, a specially formulated aquarium cleaner can help with stubborn grime. Never use household cleaners like bleach, Windex, or soap.
- Hose or Siphon: For emptying and refilling the tank.
- Water Conditioner/Dechlorinator: Essential for making tap water safe for fish. We’ll discuss how to dechlorinate old fish tank water later.
- Gravel Vacuum: Crucial for cleaning the substrate. We’ll detail how to use a gravel vacuum used tank floor effectively.
- Filter Media (Consider Replacing): Depending on the condition, you might need new filter media.
- Gloves (Optional): For personal comfort and protection.
Table: Essential Cleaning Supplies Checklist
| Item | Purpose | Notes |
|---|---|---|
| Dedicated Sponges | Scrubbing tank walls and decorations | Never used with household chemicals. |
| Dedicated Scrub Brushes | Reaching tight corners and cleaning equipment | Separate brushes for different tasks are helpful. |
| Dedicated Buckets (x2) | Holding water, rinsing parts | Label them clearly for aquarium use only. |
| Algae Scraper | Removing algae from glass/acrylic | Choose one appropriate for your tank material. |
| Old Towels/Rags | Drying surfaces | Ensure they are clean and lint-free. |
| Aquarium-Safe Cleaner | Tackling stubborn grime (use sparingly) | Follow product instructions carefully. |
| Hose/Siphon | Draining and refilling the tank | Ensure it’s clean and hasn’t been used for other purposes. |
| Water Conditioner/Dechlorinator | Making tap water safe for fish | Absolutely essential for every water change. |
| Gravel Vacuum | Cleaning substrate and removing waste | Will be a primary tool for maintenance. |
| Replacement Filter Media | Ensuring optimal filter function | Consider replacing if old media is degraded or contaminated. |
| Gloves (Optional) | Protecting hands | Good for handling potentially dirty equipment. |
Step 2: Emptying the Tank and Initial Rinse
The first step in used aquarium cleaning is to safely remove all water and debris.
- Disconnect Equipment: Ensure the heater, filter, and any lights are unplugged and turned off. Carefully remove them from the tank.
- Siphon Out the Water: Use a gravel vacuum or a simple siphon hose to drain the water into your dedicated buckets. If there’s a significant amount of debris or sludge, you might want to drain the tank completely. You can also save some of the old tank water in a separate container if you plan on transferring live plants or beneficial bacteria from an established tank (though this is less common with a completely used tank).
- Remove Decorations and Substrate (If Necessary): If decorations are heavily soiled or if you suspect issues like mold, remove them. The gravel or substrate will also need a thorough cleaning. If the substrate is very dirty or has a strong odor, it’s often best to discard it and replace it with new aquarium substrate.
Dealing with Algae and Grime
When you first empty the tank, you’ll likely see significant algae removal used tank walls and decorations. This is normal.
- For Light Algae: A dedicated aquarium sponge or algae scraper is usually enough.
- For Stubborn Algae: An algae scraper with a blade can be used, but be careful not to scratch the tank, especially if it’s acrylic.
- For Decorations: Most decorations can be scrubbed with your dedicated sponge and warm water. If there’s stubborn residue, a mild aquarium-safe cleaner might be used, followed by very thorough rinsing.
Step 3: Cleaning the Tank Walls and Decorations
Now it’s time for the scrubbing!
- Clean the Tank Walls: Using a clean, dedicated sponge and warm water, scrub the inside of the glass or acrylic. Pay attention to any water lines or stubborn algae patches. If you’re dealing with used fish tank mold removal, this is where you’ll focus your efforts. Mold can be particularly tenacious.
- Scrub Decorations: Thoroughly scrub all decorations, rocks, and driftwood with your dedicated brushes and sponges. If you encounter mold on decorations, ensure you scrub it away completely.
- Rinse Everything Thoroughly: This is a critical step. Rinse all cleaned tank walls and decorations with clean, plain water until absolutely no residue from scrubbing or any cleaning agent remains. Multiple rinses are recommended.
Disinfecting: A Crucial Step for Used Tanks
If the used tank had fish diseases, or you’re just being extra cautious, disinfecting fish tank components is vital.
- The “Vinegar Soak” Method: For a non-toxic yet effective disinfection, you can use a solution of white vinegar and water. A 1:1 or 2:1 vinegar-to-water ratio is typically effective. Submerge decorations in this solution for several hours or even overnight.
- Boiling (for some decorations): Certain decorations, like ceramic or glass items, can be boiled for a short period to sanitize second-hand tank components. Be cautious with items that might crack or leach chemicals when heated.
- Rinse, Rinse, Rinse Again: After any disinfection method, the most important thing is to rinse everything extensively with clean, plain water. Any lingering vinegar or disinfectant can be harmful to fish.
Step 4: Cleaning the Substrate (Gravel/Sand)
The substrate is where a lot of waste can accumulate. A proper cleaning is essential.
- Rinse Thoroughly: If you’ve removed the substrate, place it in a bucket or colander and rinse it thoroughly under running water. Continue rinsing until the water runs clear. This can take a while, especially if the substrate is fine sand.
- Using a Gravel Vacuum: A gravel vacuum used tank substrate is ideal for cleaning without removing all the gravel.
- Place one end of the gravel vacuum into the tank, and the other end into an empty bucket.
- Start the siphon by either submerging the entire vacuum and lifting the end into the bucket, or by using a siphon starter bulb.
- Once water is flowing, plunge the wide end of the vacuum into the gravel. The suction will lift the debris, while the heavier gravel falls back down.
- Move the vacuum slowly through sections of the gravel, lifting and settling it to clean effectively.
- Be mindful of how much water you’re removing. You’ll need to replace it with fresh, conditioned water.
Table: Substrate Cleaning Tips
| Substrate Type | Cleaning Method | Notes |
|---|---|---|
| Gravel | Rinse in colander; use gravel vacuum for partial cleaning | Rinse gravel outside the tank until water runs clear. A gravel vacuum is crucial for deep cleaning during water changes. |
| Sand | Rinse thoroughly in colander; gently stir during vacuuming | Sand can clump. Rinse it carefully to avoid clumping. When using a gravel vacuum on sand, lift it just above the sand bed to avoid sucking up the sand itself. |
| Bare Bottom | Wipe down with sponge; siphon any debris | Easiest to clean. Simply wipe with a dedicated sponge. Use a siphon to remove any loose debris that accumulates. |
Step 5: Cleaning the Filter
The filter is the heart of the aquarium, so it needs special attention. However, you must be careful not to “over-clean” it.
- Rinse Filter Media: The most common mistake is rinsing filter media (like sponges, ceramic rings, or bio-balls) under tap water. Tap water contains chlorine, which kills the beneficial bacteria that live on your filter media and are essential for the nitrogen cycle.
- Use Old Tank Water: The best way to clean filter media is to rinse it in the old tank water you siphoned out, or in a separate bucket of dechlorinated water. Gently squeeze out debris from sponges or rinse ceramic media.
- Clean the Filter Housing: While the media is out, you can scrub the inside of the filter housing, impeller, and intake tubes with a dedicated brush and warm water.
- Consider Replacing Media: If the filter media is old, falling apart, or heavily clogged with debris that won’t rinse out, it’s wise to replace it. However, always try to keep at least some of the old media in place if possible, or seed new media with old media, to preserve beneficial bacteria. If the previous owner used medications, it’s often safest to replace all filter media.
Filter Cleaning Best Practices
- Never use tap water to clean bio-media.
- Clean the filter during a water change.
- Don’t clean the filter and do a massive water change on the same day. Stagger these tasks to avoid stressing the beneficial bacteria colony.
Step 6: Preparing Fresh Water
This is where dechlorinate old fish tank water comes into play.
- Use Tap Water: Fill your dedicated buckets with fresh tap water.
- Add Water Conditioner: Add a water conditioner (dechlorinator) according to the product’s instructions for the volume of water you are adding. This neutralizes chlorine and chloramine, which are toxic to fish and beneficial bacteria.
- Temperature Match: Try to match the temperature of the new water to the temperature of the tank water if possible. Significant temperature swings can shock fish.
Table: Water Conditioning Explained
| Chemical Agent | Effect on Water | Why it’s Necessary for Fish Tanks |
|---|---|---|
| Chlorine | Toxic to fish and beneficial bacteria; damages gills | Present in all municipal tap water supplies. |
| Chloramine | Toxic to fish and beneficial bacteria; more stable than chlorine | Increasingly used by water municipalities; requires specific conditioners. |
| Heavy Metals | Can be present in tap water; toxic to aquatic life | Water conditioners often bind to heavy metals, making them less harmful. |
| Dechlorinator | Neutralizes chlorine and chloramine; detoxifies heavy metals | Absolutely essential for making tap water safe for aquatic life. |
Step 7: Reassembling and Filling the Tank
Once all components are clean and the fresh water is prepared, you can put everything back together.
- Place Substrate: If you removed the substrate, carefully add it back into the clean tank.
- Reinstall Decorations: Place your cleaned and rinsed decorations back into the tank.
- Install Filter and Heater: Reinstall the filter and heater. Ensure the filter intake is submerged.
- Fill the Tank: Slowly add the prepared, dechlorinated water into the tank. Avoid pouring water directly onto the substrate to prevent excessive cloudiness. You can place a saucer or plate on the substrate and pour water onto that.
- Turn on Equipment: Once the tank is filled, plug in and turn on the filter and heater. Check that everything is running correctly.
Step 8: Cycling the Used Aquarium
This is perhaps the most crucial step for the long-term health of your fish. A used tank, even after cleaning, will likely have lost its established beneficial bacteria colony. You need to cycle used aquarium to establish this colony.
The nitrogen cycle is a natural biological process where toxic ammonia (produced by fish waste) is converted into nitrite (also toxic), and then into nitrate (less toxic). This process relies on beneficial bacteria.
Methods for Cycling a Used Tank
- Fishless Cycling (Recommended): This is the safest and most humane method.
- Add an Ammonia Source: You can add a small amount of pure liquid ammonia (seek out brands specifically for aquarium cycling, not household cleaning ammonia). Alternatively, you can use a piece of raw fish food that will decay.
- Monitor Parameters: Use an aquarium test kit to monitor ammonia, nitrite, and nitrate levels regularly (daily or every other day).
- The Process: Ammonia levels will rise, then fall as nitrite levels begin to rise. Nitrite levels will then fall as nitrate levels start to rise. The cycle is complete when you can add ammonia, and it is converted to nitrate within 24 hours, with zero detectable ammonia and nitrite. This process typically takes 4-8 weeks.
- Fish-In Cycling (Not Recommended for Beginners): This method involves adding fish to the tank while it cycles. It’s much more stressful and potentially harmful to the fish, as they are exposed to toxic ammonia and nitrite. If you must use this method, you’ll need to perform very frequent partial water changes to keep ammonia and nitrite levels as low as possible.
Table: Nitrogen Cycle Stages
| Stage | What Happens | Impact on Fish | How to Monitor |
|---|---|---|---|
| Ammonia | Produced by fish waste, uneaten food, decaying organic matter. Highly toxic. | Can cause gill damage, stress, and death. | Test kit for Ammonia |
| Nitrite | Bacteria (Nitrosomonas) convert ammonia to nitrite. Highly toxic. | Can prevent oxygen absorption by the blood, leading to suffocation. | Test kit for Nitrite |
| Nitrate | Bacteria (Nitrobacter) convert nitrite to nitrate. Less toxic. | Can be tolerated by most fish in low to moderate amounts. High levels are still harmful. | Test kit for Nitrate |
| Beneficial Bacteria | Colonies of Nitrosomonas and Nitrobacter live on surfaces like filter media and substrate. | Essential for converting toxic waste products into less harmful substances. | Measured indirectly by the conversion of ammonia and nitrite to nitrate. |
Step 9: Introducing Your New Fish
Once the tank has been successfully cycled, it’s time to add your new inhabitants!
- Acclimation: Don’t just plop your new fish into the tank. Acclimate them to the tank’s water parameters. Float the sealed bag in the tank for 15-20 minutes to equalize temperature. Then, gradually add small amounts of tank water into the bag over the next 30-60 minutes. Finally, gently net the fish out of the bag and into the tank, discarding the bag water.
- Start Small: Don’t overstock the tank on day one. Introduce a few fish at a time and monitor water parameters closely for the first few weeks.
Addressing Common Issues in Used Tanks
When dealing with a used tank, you might encounter specific problems:
Used Fish Tank Mold Removal
If you notice mold on silicone seals, decorations, or inside the tank, it usually indicates a moisture problem combined with poor ventilation or a lack of a strong beneficial bacteria colony. For mold on silicone, you can try scrubbing with a toothbrush and vinegar solution, followed by thorough rinsing. If mold is pervasive on decorations, it’s best to discard and replace them.
Algae Buildup
Stubborn algae removal used tank walls might require a dedicated algae scraper. Regular maintenance with a gravel vacuum and proper lighting control will prevent excessive algae growth in the future.
Odors
A musty or rotten egg smell often indicates anaerobic bacteria in the substrate, which can be caused by compacted gravel or excessive organic waste. Thoroughly vacuuming the substrate and ensuring good water flow can help. If the odor is very strong and persistent, replacing the substrate might be necessary.
Final Thoughts on Your Used Fish Tank Setup
Cleaning a used fish tank is a rewarding process that allows you to give a good home a second life. By following these steps diligently, you’ll create a safe, healthy, and beautiful environment for your new aquatic companions. Remember, consistency with maintenance, proper water changes, and careful monitoring of water parameters are key to a thriving aquarium. Enjoy your new used fish tank setup!
Frequently Asked Questions (FAQ)
Q1: Can I use bleach to clean a used fish tank?
No. Never use bleach or any household cleaners on an aquarium. Even trace amounts of bleach residue are highly toxic to fish and beneficial bacteria and can persist for a long time.
Q2: How do I know if the tank is truly clean and safe?
The best way to ensure safety is to complete the nitrogen cycle. Even after thorough cleaning, the tank will need to establish its beneficial bacteria colony. Use an aquarium test kit to monitor ammonia, nitrite, and nitrate levels until ammonia and nitrite consistently read zero, and nitrates are present.
Q3: Should I replace the gravel in a used tank?
It’s often a good idea, especially if the gravel is heavily soiled, smells bad, or if you suspect the previous owner used medications that may have leached into the substrate. However, if it’s just lightly dirty, thorough rinsing and vacuuming might suffice.
Q4: Is it safe to reuse filter media from a used tank?
It depends. If the filter media is in good condition and the previous owner didn’t have any known fish diseases, you might be able to reuse some of it to help seed the new filter. However, if there’s any doubt about disease or the media is degraded, it’s safer to replace it. Always rinse media in old tank water or dechlorinated water, never tap water.
Q5: How long does it take to cycle a used tank?
Cycling a used tank typically takes 4-8 weeks using the fishless cycling method. The duration depends on factors like water temperature, pH, and the ammonia source you use. Patience is key for a successful cycle.